- Home
- Resources
- Tips & Tutorials
- Hand Stamping Basics - Equipment
Hand Stamping Basics - Equipment
We thought we would cover some of the basic equipment you will need to begin hand stamping that we recommend and have found to be valuable.
There are quite a few hand stamping picture tutorials online which can be googled and also lots of step-by-step video tutorials on YouTube available but for now this is just a few equipment tips we have discovered along the way.
- Bench Block
- Brass Hammer
- Letter/Number & Design Stamps
- Hand Stamping Blanks
- Blackening Solution
- Pliers & Other Tools
Bench Block
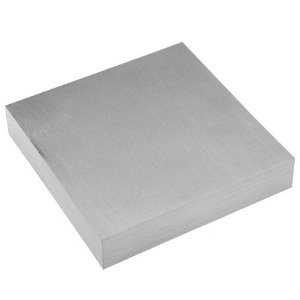
You will need a steel bench block and a solid work bench to be able to produce a good quality hand stamped piece. There are a number of places to purchase a pre-cut bench block designed for hand stamping or you can also source an off cut from a local steel factory.
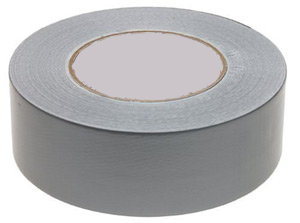
We often get asked how to avoid scuffing on the back of a blank that is caused by the bench block. Our recommendation is some good old fashioned duct tape. It’s thick, it’s sticky and provides plenty of protection from scuffing. There is also a few other things that people have tried and found to work. For example a business card or a plastic zip lock bag, it’s about finding what works best for you.
You can also use a sand or rubber mat underneath your bench block to reduce the noise when striking.
Quick Links:
Supplier of pre-cut bench blocks designed for metal stamping – located in Australia https://polymerclay.com.au/25x25x5in-Beadsmith-Steel-Bench-Block
You can also find bench blocks on Etsy from a variety of suppliers – Mostly US based
https://www.etsy.com/search?q=steel%20bench%20block
Brass Hammer
Although we see a lot of hand stampers using a metal hammer from the local hardware store, we DO NOT recommend them. The best hammer to get is one with a brass head as it is a softer metal so when striking your tools the hammer is what absorbs the force and shock of the bang instead of you. It can be harmful to your wrists when using a steel hammer and also when banging certain metals together you can sometimes generate a spark or explosion. This is why we don’t recommend hardware bought hammer as it can potentially be quite dangerous as well. Using a brass hammer will also reduct the chance of double stamping by decreasing tool bounce.
There are a few style brass hammers available, we prefer a short handle style as we find it is much easier to control but again it is best to use what works for you.

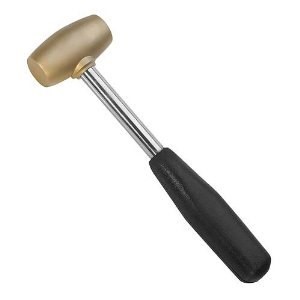
With a brass hammer you will notice that it will begin to flake or chip away. This is completely normal, it is designed to start chipping or flaking so that you are not damaging the ends of your stamping tools.
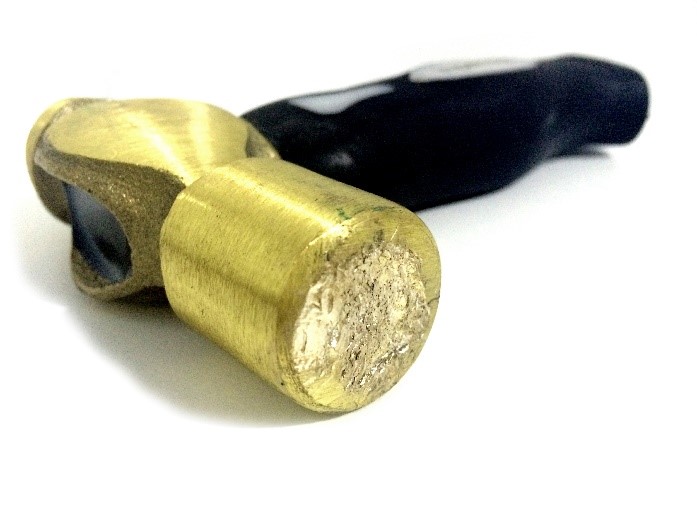
You can see our full range of Hammers here
Letter/Number & Design Stamps
When stamping on Stainless Steel it is best to use quality sharp tools. There are a number of stamping tools available however we recommend tools that are rated for Stainless Steel. To produce a clean crisp impression it is best to invest in the correct tools, lower cost effective tools will wear down and become dull making it harder to get a good impression into the metal.
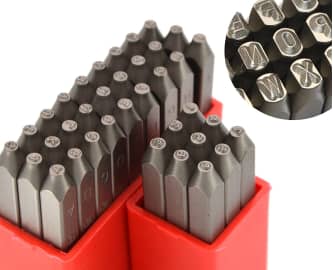
We have a limited selection of Stainless Steel rated tools in our shop - https://www.metalandmaker.com.au/tools/
Other Recommendations :
Infinity Stamps - http://www.infinitystamps.com/alphabet_stamps.html
This Company is located in the US and have a variety of fonts and even custom fonts that can be made to your specifications however being an elite company they are extremely pricey however an investment well worth it for the quality of tools you will receive.
Font Fixation - https://www.fontfixation.com/
This Company is also located in the US and have a variety of fonts and even custom fonts that can be made to your specifications however they are mid level price point, however an investment well worth it for the quality of tools you will receive.
Stamping Blanks
All our products at Metal+Maker are made from high quality stainless steel so they are much harder to stamp then other metals like aluminium for example.
Stainless steel is extremely strong and durable. It does not tarnish, corrode (will never go black) and will not discolour your skin. It is a hypo allergenic, making it perfect for those with skin irritations and allergies. Stainless Steel is becoming more and more popular in today’s market because it is more cost effective, making it a quality, affordable choice for jewellery.
We do not require a minimum purchase on our website so you are welcome to order as you please. What we have done instead is added bulk discounts to most of our products when ordering quantities of 10+ (please see individual products for details).
Our premium range is much more desirable for long term but I highly recommend our standard range when still in the practising stages as this will be much more cost effective for you to get started.
We are continually adding new products on a regular basis so be sure to sign up to receive our newsletter for updates.
Ideally we would of course love you to give our products a try, but I won't lie there are so many other wonderful blanks especially in other metal materials available from various sources online.
Blackening Solutions
Quite often we get asked whats the best way to blacken the letter on a Stainless Steel design so we will go through a few options and methods. Because Stainless Steel does not tarnish, using methods like liver of sulphur and other patina oxidising type methods will not work.
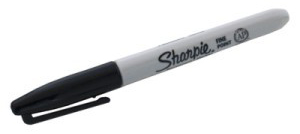
For a quick solution you can colour in your stamped letters with a permanent sharpie pen and rub the excess off using a dab of rubbing alcohol. We find this method to only be temporary as it will fade away quickly especially when in contact with water.
Our preferred option is using care touch up paint. We paint over our letters and lightly wipe with a cloth. There will still be some paint residue left over but it is best to let it dry for 5-10 minutes, then you can rub any leftover excess paint residue with a dab of rubbing alcohol and a cloth. If you use the rubbing alcohol without letting it dry a bit first you will just strip the paint as you wipe. We have found this paint to be very affective and long term. It holds up in most conditions and lasts when in contact with water. The only thing we have found strips the paint is when it comes in contact with bushman’s mosquito spray and other harsh stripping agents found in some cleaning products.
Also make sure to take note of the recommended drying time. Different enamel paints and brands will have different drying times. Normally they require a 16 hour official dry time so it’s best to let it completely dry before wearing a piece and having any contact with water during the drying stages.
Car paint pens also come in a variety of colours our preferred colour is Black.
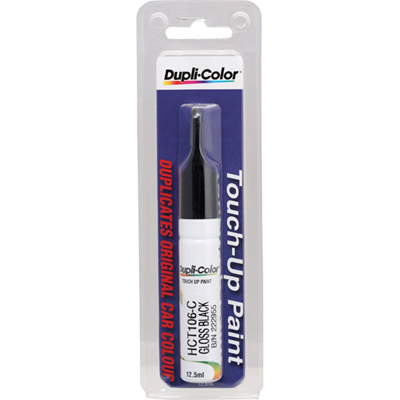
CLICK HERE for more in depth video tutorial on the best way to use Dupli-Color Paint Pen on Metal+Maker products.
Quick Links:
You can find Sharpie Pens in most office supply store like Office Works.
http://www.officeworks.com.au/shop/officeworks
The Holts dupli-colour enamel paint pens have become harder to find but we have noticed different eBay sellers stocking them from time to time - www.ebay.com.au
Pliers & Other Tools
There are all different types and brand pliers available on the market in all different price brackets. Depending on what sort of jewellery making you will be doing will depend on what types are best for you.
Because it’s hard to determine everyone’s intent I will just go through what we use and why.
We use Wubbers Jewellery Pliers, they are a little more on the expensive side for pliers however they are excellent quality and very long lasting. I still have my original set of wubbers and have not had to replace any thus far.
A set like this is great so you can have one of each type on hand at all times.
This set include - Classic Wubbers Chain Nose, Round Nose, Bent Chain Nose, Narrow Flat Nose, Medium Flat Nose, Wide Flat Nose Pliers
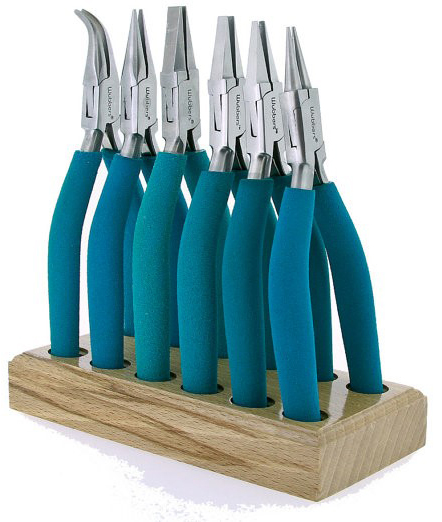
You can purchase them here.
In order to punch holes in stainless steel you will need a Power Punch. Because Stainless Steel is extremely tough you will not be able to punch holes using plier type tools. Even with the Power Punch there are limits as to what can be punched.
The power punch can be used on our Standard range which is 1mm thickness.
Our premium range which is 2mm thickness cannot be punched using this tool however you can use an ordinary drill with the right drill bit. Here is a link that you might find useful when drilling Stainless Steel - http://www.youtube.com/watch?v=D4q8UhbpaG0
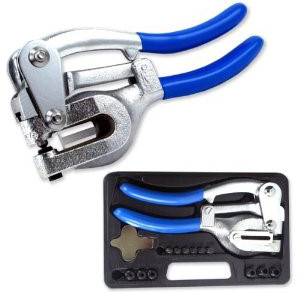
You can purchase a power punch here.
 Loading... Please wait...

